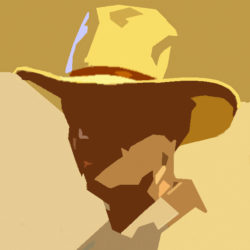

In portrait painting it is all about putting the right colour on the right place.
As simple as that. And I’ve spent my entire artistic career with the question “What is the right colour and where is the right place?”
Major problems should be divided into smaller ones. Also in portrait painting. Like the composition, the drawing, the colour contrast, the ciaroscuro, the likeness. All these topics should be solved individually. So I was convinced of the importance of coming up with a reliable approach to portrait painting. Each artist has his own method, either self invented or handed by teachers. As a painter I am selfmade. Over the years I gathered information from wherever I could. I found my way of working, allthough I keep changing now and then. Here I like to share my experiences.
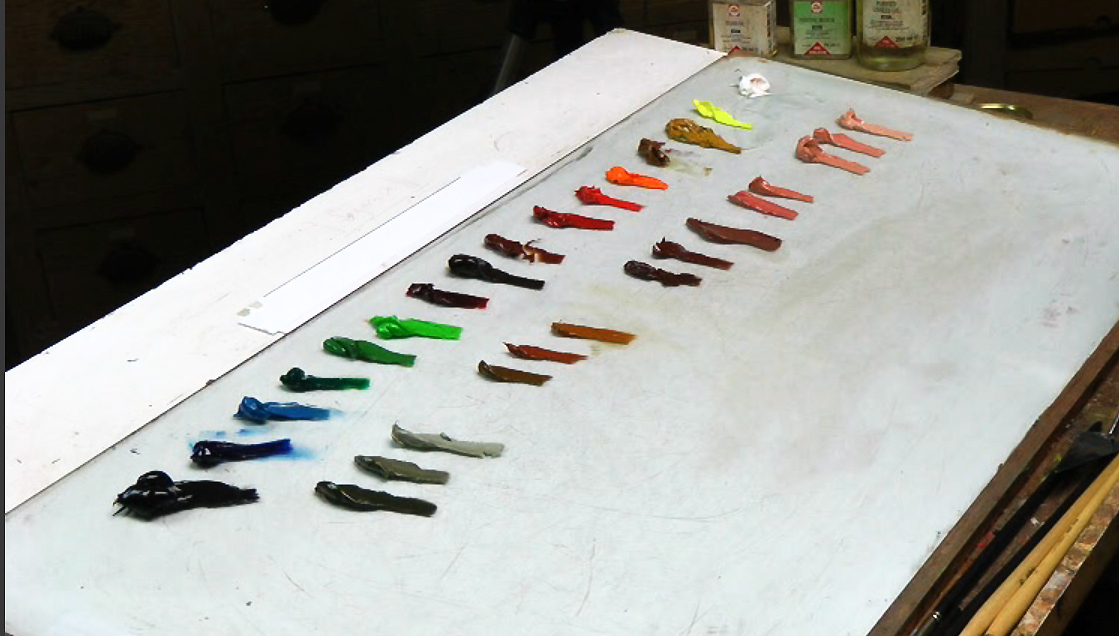
Pre-mixing flesh-colours
One of the basics of my portrait painting lessons is pre-mixing the flesh colours. I always work with pre-mixed flesh tones. And not with mixtures straight from the tube. That is crappy, because you don’t learn anything about the making. It’s important to know what colours you use and why. Usually I pre-mix two or three shades of the lightest flesh color. Two half tones and one or two shadows, depending on the portrait you will be painting. In my videos I show you exactly how I do that. See here.
What is the most important advice I could give you?
Take your time! Try carefully to pinpoint which colours you want to make. Not too many and not too few. Make it a separate activity. If necessary, you store the mixture until the next day when you start painting. I see too often students quickly, quickly scribble the preparations, just to, as fast as possible, start painting, assuming that the painting itself is the only real thing at stake.I am convinced that the time you lose with the preparation will pay off in the end of the process.
My slogan: Control first, freedom later.
See also: The colours on my palette.