What painting medium and when?

about medium

Although I use little medium it constitutes a very fundamental part of my painting.

What medium do I use? I always get that question and I’ll explain. It’s important to know that my technique is based on the “allaprima” technique. ‘Allaprima’ means that the painting will be painted ‘wet-into-wet’. With this technique the colours are mixed not only on the palette but also on the painting itself, and the paint can continue to be thinned with the same solvent or medium, or the paint can be used pure. And remember I work in one-day parts so every part must be finished in one single day, before the paint is dry.

Painting medium
Painting medium on top of the dry underpainting. I apply the mixture with a brush and wipe it off with a cloth.

◊ Before I start, I rub the canvas with a medium. That can be a normal drying standard medium. Sometimes I use a mixture of 50% alquid medium + 50% stand oil, that gives a more oily appearance. Why do I start this way? I always say “the canvas is hungry and must be fed and satisfied.” In this way the linen sucks less, and the brush strokes are received more easy.  I don´t use it too thick, I apply the mixture with a brush and wipe it off with a cloth.

◊ When I start painting I use hardly any medium. My paint is of good composition. I mostly use Rembrandt/ Talens and for me it has the ideal ratio of pigment-oil. Some brands are stiffer and others more liquid.

◊ Once the canvas is covered with paint, and I want to continue adding details, I use the mixture of 50% alquid medium + 50% stand oil.

Losses and wins

Losses and wins

How to become a better painter? That’s an interesting question, and to me perhaps one of the most important ones. You learn more from your losses than your wins.

I was lucky to attend at a very young age the drawing classes of Beatus Nijs. I’ve written about him before. As a painter I am self-taught. Autodidactism has pros and cons. A con might be the slow progress. When I was starting there was no internet yet! I bought dozens of books; good and bad ones. I visited “real” painters, some of them gave useful hints while others were too stingy to share. I saw thousands of paintings in numerous museums and I copied some old masters from time to time. An advantage of self-education however is that you never stop learning! You become, so to speak, your own teacher. You´re on your way to develop a personal method of learning. Through trial and error. I will give you an example. In the past I invented and applied this method: serial recordings.

Making serial recordings

Sometimes after finishing a portrait, I wondered if a previous stage looked better than the final result. So I started to make every fifteen minutes a snapshot. In hindsight I was able to judge better the whole process. More than once I came to the conclusion that, especially in the final phase, I drove into the ground a lively portrait with good brushwork, by trying to make it “nicer” or more “realistic”. The pitfall of superfluous blending. I tried to avoid that in my next portraits, and so taught myself something.

Reckless and irreversible

Reckless and irreversible

Recently I came across an image of a painting from the series “Portraits of Valencia “. It is called Man on the Bridge. I made some paintings with this theme probably more than ten years ago. I dedicated more time then to paint subjects other than portraits. Maybe I should resume this and make some uncommissioned work again. The painting was not bad, I guess. I say was, because it no longer exists in this form. One day I wondered if another cut would be better. With strips of paper I covered the picture to get an impression of a new crop. Recklessly I took the rash decision of putting the knife in. I trimmed the canvas! The truncated version hangs now at a friends place. I guess they do not know about the original version. But I regret the error. Why didn´t I see, I was about to commit a big mistake and ruin a good picture? So I warn you all, don´t be too quick with decisions that are irreversible.

Man on the bridge. Oil on canvas
Man on the bridge. Original version
Trimmend version.
Trimmend version

Time flies here

Lunchtime at Table Tableau

Mougny, Burgundy, France. Last friday the first week ended and monday new students will arrive. Atmosphere here is always great and I really enjoy being part of it. Table Tableau hosts Bas and Agnes do their outmost to cherish the students. Large part of the success is due to their commitment and perfect organisation. It’s really a privilege teaching here. Regularly people ask me to  start workshops in their country. I am very sorry to disappoint them. Untill now I don’ t have plans to teach apart from my courses here. My commissioned work does not allow me to wander so much. Maybe one day…

Carefully look & listen.

Portrait at the waning moon.

Portrait at the waning moon.

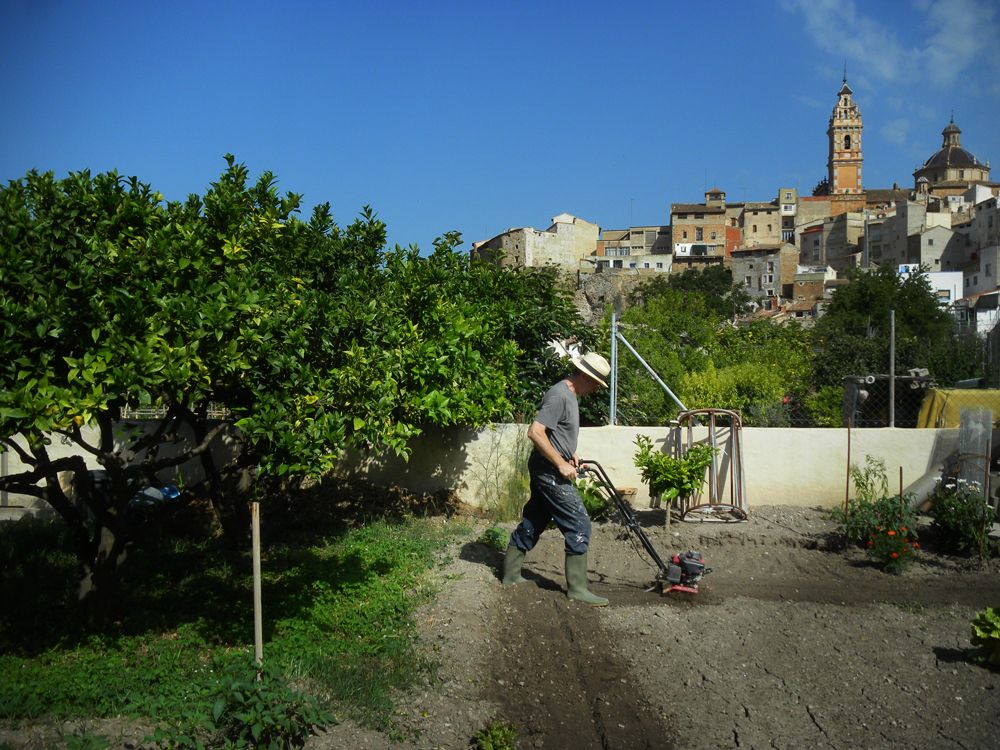
Time has come again: I have packed my suitcases and tomorrow I am off to Burgundy to start my workshops portrait painting. But as always, before I can leave, there are still dozens of things to be done at the very last moment. This morning, the soil of the kitchen garden had to be plowed so my wife can plant leeks and some corn. That was not possible earlier this month because of the new plants must be placed at waning moon. And that’s now.

plowing the soil
Last minute job: plowing the soil

In this village, where everyone has a vegetable garden, people live by the rhythm of the lunar cycles and not just for seeding and harvesting;  reeds for beanstalks also must be cut according to the lunar calendar. All for an optimum and sustainable yield. Whether it really matters I don´t know. Once I wondered if a portrait painted by waning moon would look better than one done at crescent moon. During my workshops I certainly will not talk about these things. Students might suspect things ain’t cooking in my kitchen and think that they have landed in the wrong workshop. 

Once back from France I will continue with my series about the likeness.

Troubleshooting: the likeness (3)

Troubleshooting- the likeness

3 Check the portrait at twilight.

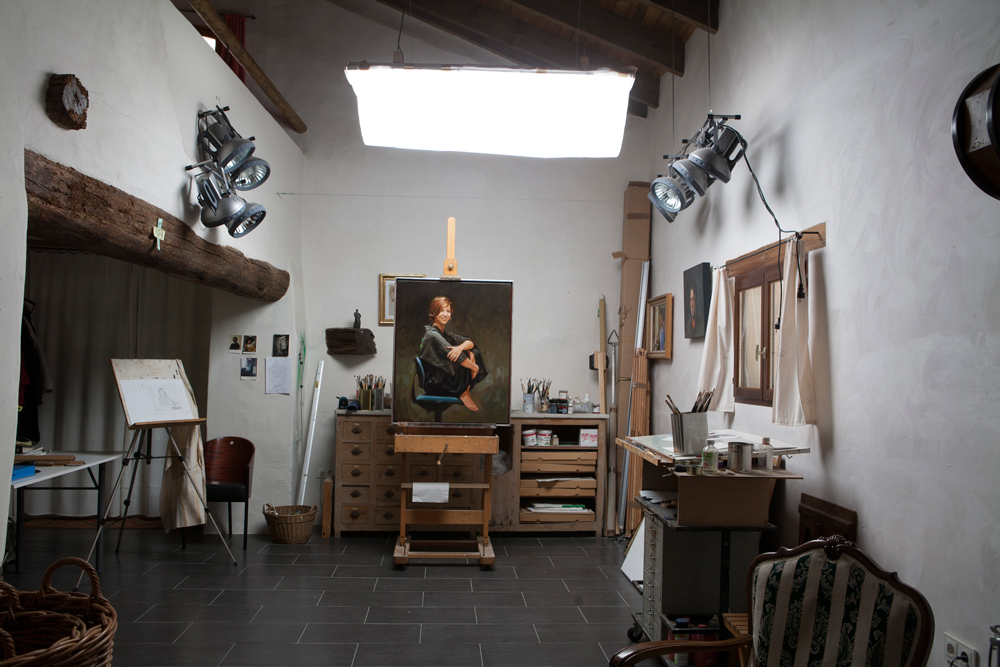
People always think that the lighting in a painters studio should be abundant. However in some cases, the opposite is true. A few times scarce lighting is very welcome. When I want to check an almost finished portrait I switch off  the lights in my studio to see the portrait at semidarkness. Then I notice other differences in hues and values than I’d seen in full lighting.

Studio with full illumination
Studio with full illumination.
Studio at semidarkness
Studio at semidarkness.

See also this article on studio lighting.

Troubleshooting: the likeness (2)

Troubleshooting- the likeness (2)

2 Use a mirror

Working for long periods of time on a portrait without a break can be tricky. First, unwittingly, you become tired. In the beginning you make key decisions, but after a while your concentration certainly decreases. Secondly, the portrait resembles more and more itself: namely the image that has been built up in your mind. It is therefore important that your perception remains fresh. Take a little break every so often. A great tool here also is the use of a mirror. Hold the mirror in such a position that you see simultaneously your model (or photo) and your canvas. You will be very surprised what you see: the same image but completely different.

Using a mirror.The same image but completely different.
Using a mirror. The same image but completely different.

See me in this video using the mirror. 3:38

Troubleshooting: the likeness (1)

Portrait of a lady. Detail
Portrait of a lady. Detail.
Portrait of a lady. Seen without my glasses
Portrait of a lady. Seen without my glasses.

Every portrait painter knows this: A portrait is finished, it looks nice but the resemblance is not quite right (or not at all) Conclusion: there is something wrong. But where is the rub? Perhaps it would be the eyes or the mouth, maybe the nose? You are peering & correcting, but an acceptable similarity is not coming into sight. Even worse: all your efforts are jumping out of the frying pan, into the fire. What do you do? Probably despair first. But as you can learn how to get started, you can also learn how to finish a portrait. I will pay attention to this issue here and in future blog posts. There is a number of ways to assess the likeness of a nearly finished portrait.

Here are some tricks you can think of:

1 Take off your glasses.

2 Use a mirror.

3 Check the portrait at twilight.

4 Use transparent paper.

5 Use the computer.

1 Take off your glasses

The portrait is not quite right, however you are absolutely sure all points of reference are in the correct position. Remember that it could also be that the curves  are not in the right spot. In particular, the roundness of the cheeks. Up to what point are they exposed to the light, where does the shadow start? I often take off my glasses to see everything a little blurry. I perceive no details, only large shapes. And it works! It’s an amazing trick to find inaccuracies related to curves. “Yes, but I don´t wear glasses” you’ll say. OK. Borrow a pair of your granny´s specs, and put them on! Same effect.

Next time: Using a mirror.

The annoying visitor

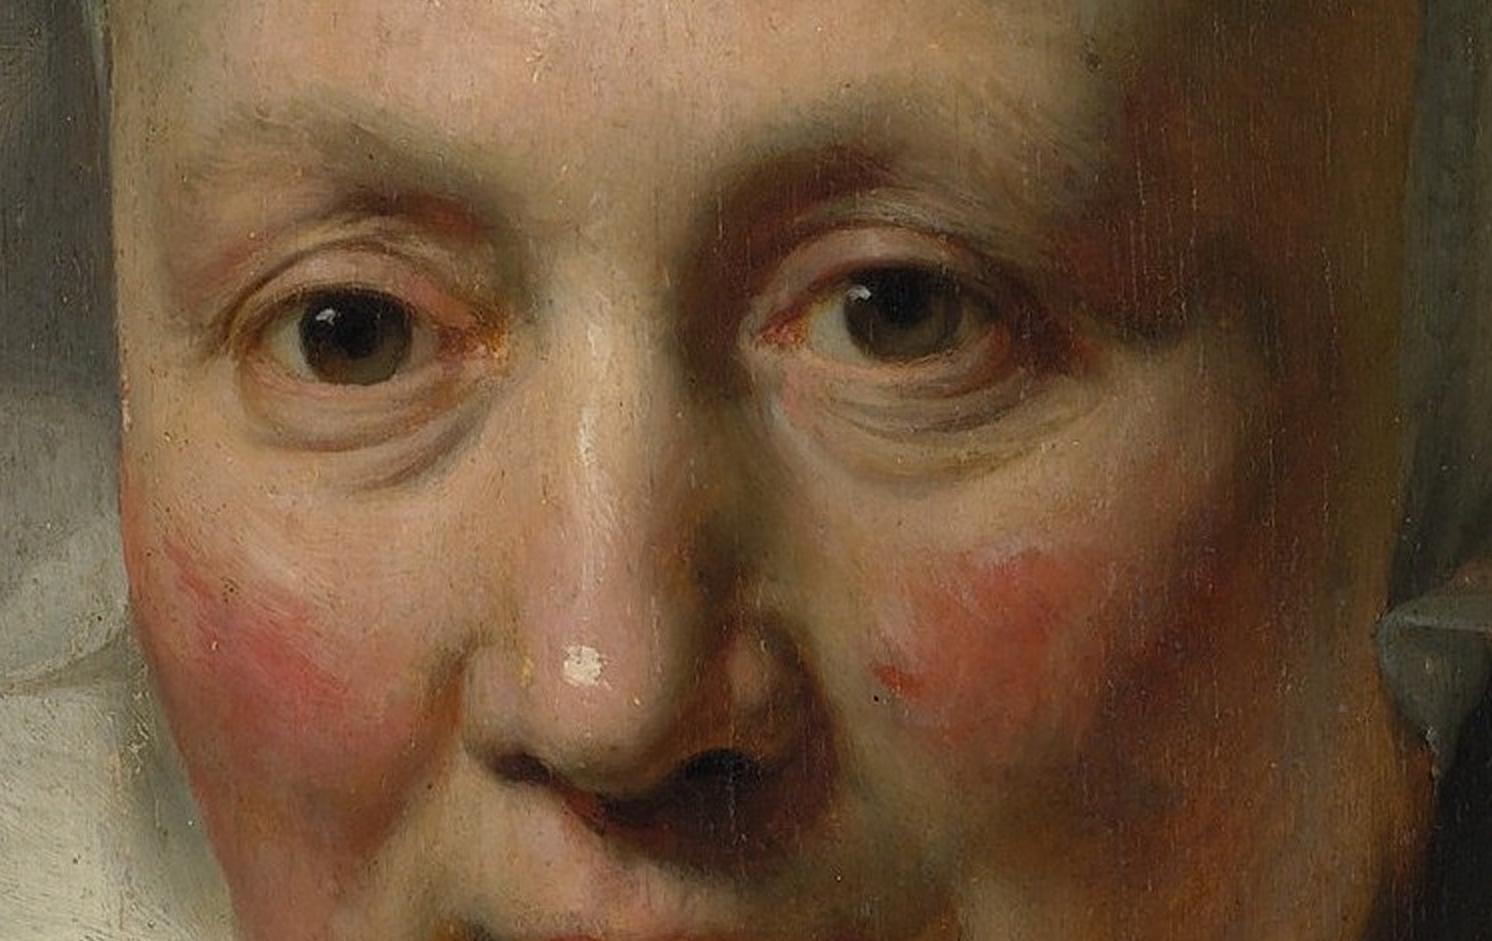
Did you ever notice this, when visiting a museum? Most people look at paintings from faraway. However, a single person is at a distance of a few centimeters to his eyes from a painting. Often this guy is warned by the museum guard: “Please back off.” This chap is definitely a painter himself. I know this because I do the same. I need to examine the painting technique: I want to see brushstrokes, feel the varnish, detect what kind of canvas the artist uses, at the borders sometimes some grounding is visible. I want to discover the secrets. Basically I am anxious to catch a glimpse of the Masters kitchen. People like me always stand in the way. We belong to that special breed among museum frequenters: the annoying visitor. For people like us it’s great that many museums have put some of the highlights from their collection in high resolution on the internet. For example, have a look at this link of the Metropolitan Museum of Art.

Portrait of a Woman Rembrandt (Rembrandt van Rijn)
Portrait of a Woman
Rembrandt (Rembrandt van Rijn)
Rembrandt van Rijn. Portrait of a woman. Metropolitan Museum of Art.

I got the wrong end of the stick: colour contrast

In response to my blogpost dated 1 May of this year I received the following comment:

Hello Ben

A beautiful portrait, but I do not understand the remark about the red face and green background.  I would think that the effect is thereby enhanced. Greetings”

 Yvonne Welman

Complementary contrast/ analog contrast
< Original painting. Complementary contrast/ analog contrast. Photoshop version >.

This observation is of course correct. Indeed, the green enhances the reddish effect. Green against red is a complementary contrast. Well, I have altered the background of the original painting in photoshop. In this changed version red is now the dominant colour overall. The whole painting is thus getting a huge saturation of the red tones. I did not want that. That is what I meant when I wrote “To minimize the impact of the reddish face I surrounded it with a greenish background.” (By all means, in the original painting, I had already introduced some red accents in the background, as an echo of the reddish flesh tones, at the left of the face.)