Painting a portrait in watercolour

“If you are self-employed, do you need a lot of self-discipline?” someone asked me a long time ago.  “Of course!” was my answer, “because you need to know when to stop.”  Unless you pay attention, you find yourself day and night behind the easel.  I have had to think of that now I am seized with “watercolour fever”.

Portrait in watercolour

Two weeks ago I wrote you about a commission in watercolour. I finished the job but I could not shake myself free of watercolours as they captivated me. I attacked (after Van Gogh) a number of portraits in this beautiful technique. The working method in watercolour is opposed to that of oil. In oil you immediately start with the darkest parts, then the half tones and finally the lights. On the contrary, in watercolour you start with the light areas, (saving the high lights). Then the halftones and finally the darkest parts.

Already people have asked me for a tutorial and I have put it on the agenda for next year. Next post will be on the preparations for a watercolour portrait.

My watercolor equipment.

The colours on my palette:

  • Cadmium Lemon Yellow
  • Cadmium Red Light
  • Yellow Ochre
  • Raw Sienna
  • Alizarine Crimson
  • Phtalo Blue
  • Cerulean Blue
  • Sap Green
  • Hookers Green

I prefer to work on Arches France, Bockingford or Fabriano paper.

Troubleshooting: the likeness (1)

Portrait of a lady. Detail
Portrait of a lady. Detail.
Portrait of a lady. Seen without my glasses
Portrait of a lady. Seen without my glasses.

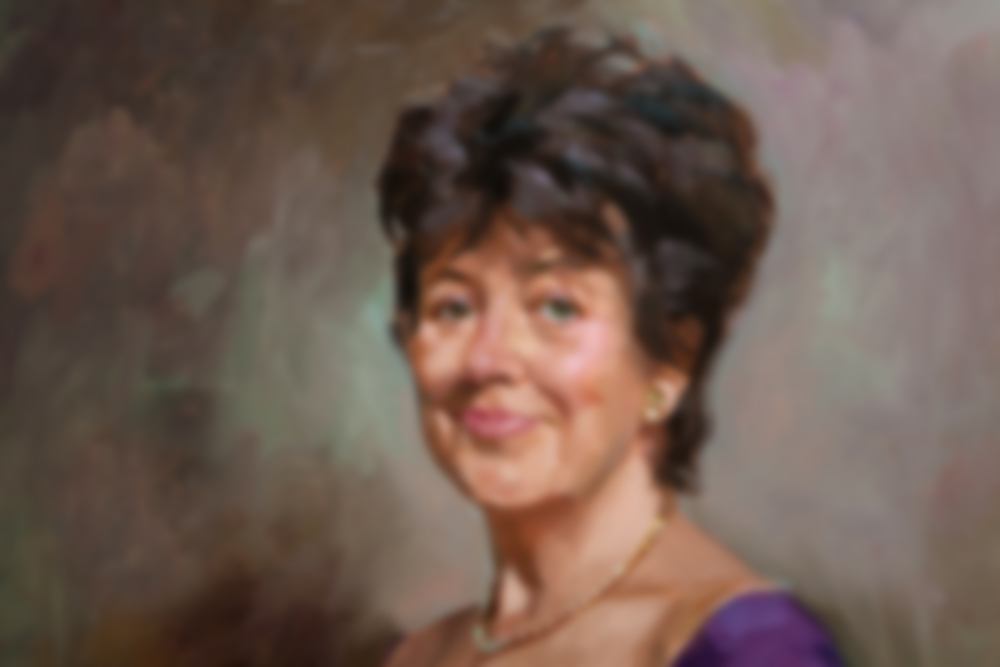
Every portrait painter knows this: A portrait is finished, it looks nice but the resemblance is not quite right (or not at all) Conclusion: there is something wrong. But where is the rub? Perhaps it would be the eyes or the mouth, maybe the nose? You are peering & correcting, but an acceptable similarity is not coming into sight. Even worse: all your efforts are jumping out of the frying pan, into the fire. What do you do? Probably despair first. But as you can learn how to get started, you can also learn how to finish a portrait. I will pay attention to this issue here and in future blog posts. There is a number of ways to assess the likeness of a nearly finished portrait.

Here are some tricks you can think of:

1 Take off your glasses.

2 Use a mirror.

3 Check the portrait at twilight.

4 Use transparent paper.

5 Use the computer.

1 Take off your glasses

The portrait is not quite right, however you are absolutely sure all points of reference are in the correct position. Remember that it could also be that the curves  are not in the right spot. In particular, the roundness of the cheeks. Up to what point are they exposed to the light, where does the shadow start? I often take off my glasses to see everything a little blurry. I perceive no details, only large shapes. And it works! It’s an amazing trick to find inaccuracies related to curves. “Yes, but I don´t wear glasses” you’ll say. OK. Borrow a pair of your granny´s specs, and put them on! Same effect.

Next time: Using a mirror.