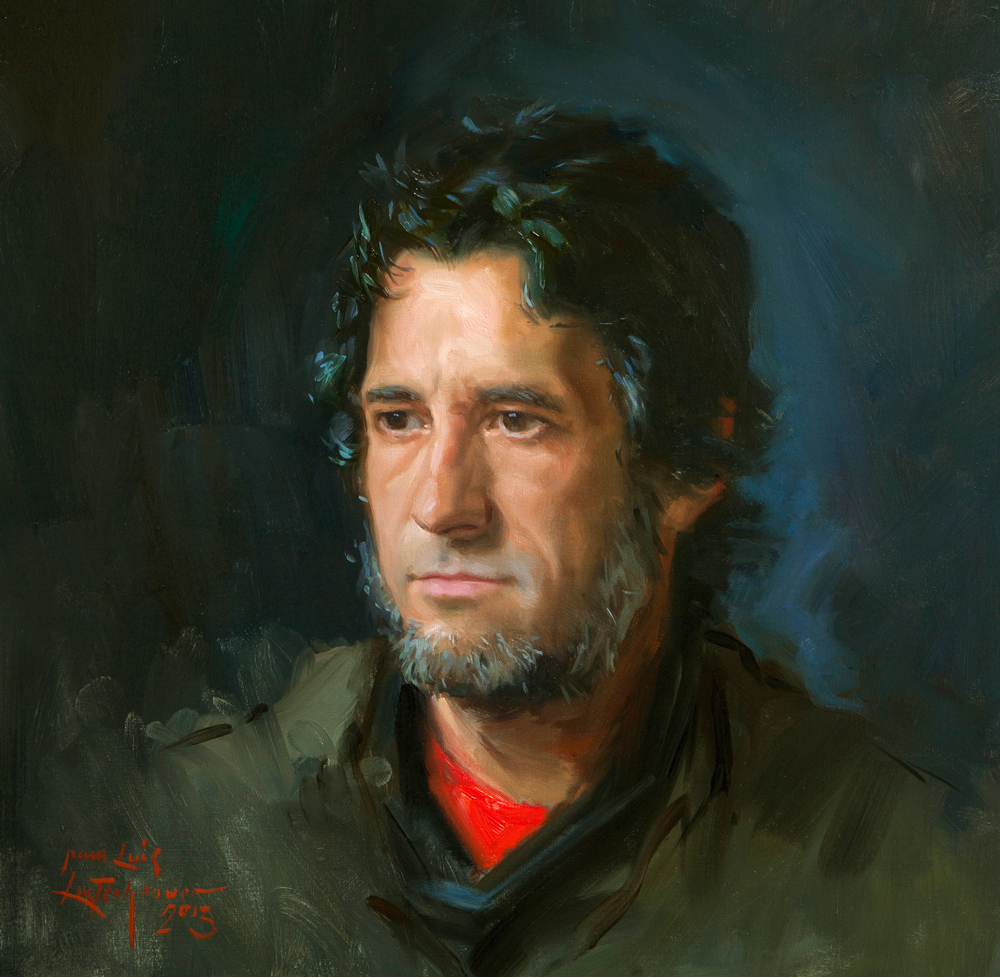
In my post two weeks ago I talked about portrait painting and the applause of uncles and aunts; the worthless fame. What you really need is a critical eye of someone who understands matters. Someone whose opinion you appreciate. Someone who does not give compliments just to please you. Formerly, before a painting left my studio, my daughter came to approve the product. And when she had critical points, she almost always was right. She is married now and lives in Madrid already for five years. This week she is staying with us. So I can call on her scrutiny. The family portrait, which I have shown you before, is in it´s final stage. Together we have gone over. Beside a few little things I got her approval and for her part the painting can be delivered. Of course I also sent an image to the client. They are very enthusiastic. (aside from some small comments). After these corrections the painting can be varnished and shipped.
Portrait painting & music
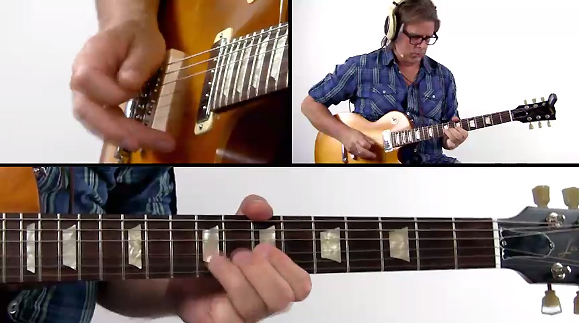
A short message in this mid-week post. In some of my portrait painting videos, the music is provided by my cousin Will Sophie. For those who want to learn to play guitar like Will: that is possible. Check out his video, really great. I wish you lots of success Will.
Portrait in 6 steps
I made a 6 step demonstration of one of my latest commissions.
Have fun.
Time flies here
Mougny, Burgundy, France. Last friday the first week ended and monday new students will arrive. Atmosphere here is always great and I really enjoy being part of it. Table Tableau hosts Bas and Agnes do their outmost to cherish the students. Large part of the success is due to their commitment and perfect organisation. It’s really a privilege teaching here. Regularly people ask me to start workshops in their country. I am very sorry to disappoint them. Untill now I don’ t have plans to teach apart from my courses here. My commissioned work does not allow me to wander so much. Maybe one day…
Value and colour, what is the problem?
You learn the most from your own mistakes, I’ve mentioned this before. “But how does that work?” you might ask. Sometimes you know that your painting is unsuccessful but you do not know why. In the beginning, that was also a problem for me. Perhaps the most important thing I taught myself is this: Make a checklist to be used after finishing a painting. (Applause from family and friends is trappy: It’s not hard to get compliments and believe that you’ve done an amazing job when you actually should know better.)
Some criteria that you can think of:
- Is the composition solid enough?
- Is the value contrast okay?
- Is the use of colour okay?
- Did I use enough paint?
- Do I see enough “bold” brush strokes?
- Not too many meticulous & irrelevant details?
There are numerous points to invent. Later I’ll come back to this issue. Try to make such a list for yourself.
An important observation is this: Value contrast can be more important than colour contrast. When a painting is not really a hit because you got stuck in colours that don’t want to accomodate, remember that the solution perhaps lies in the value contrast.
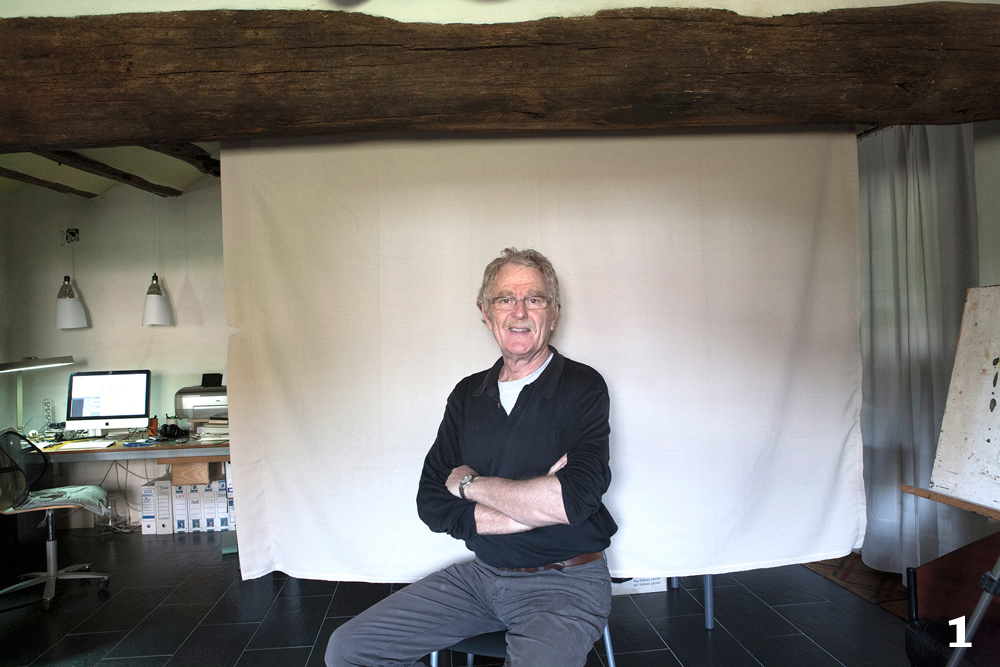
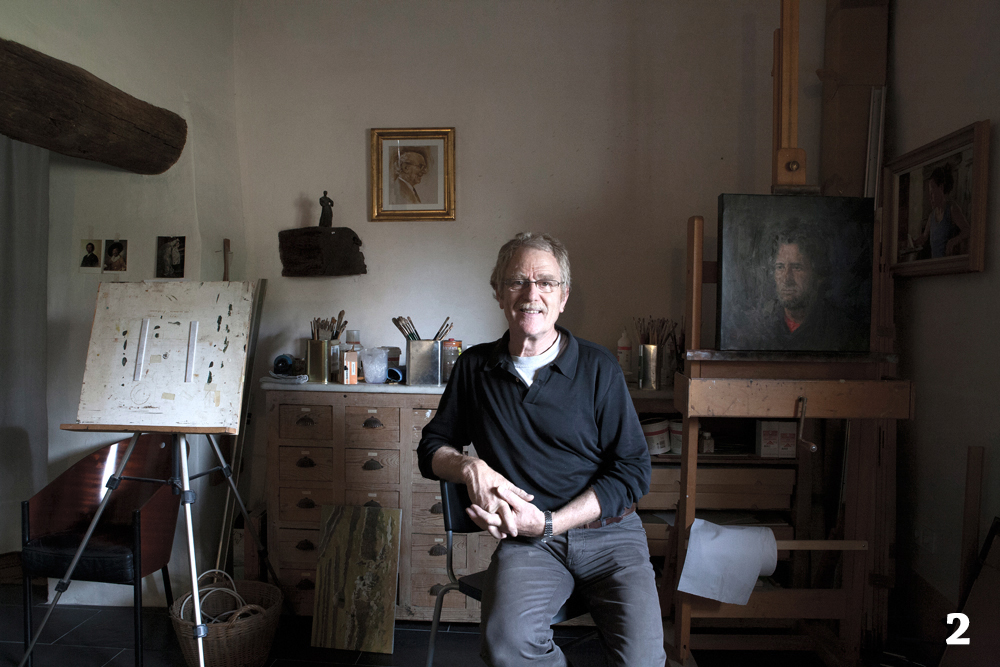
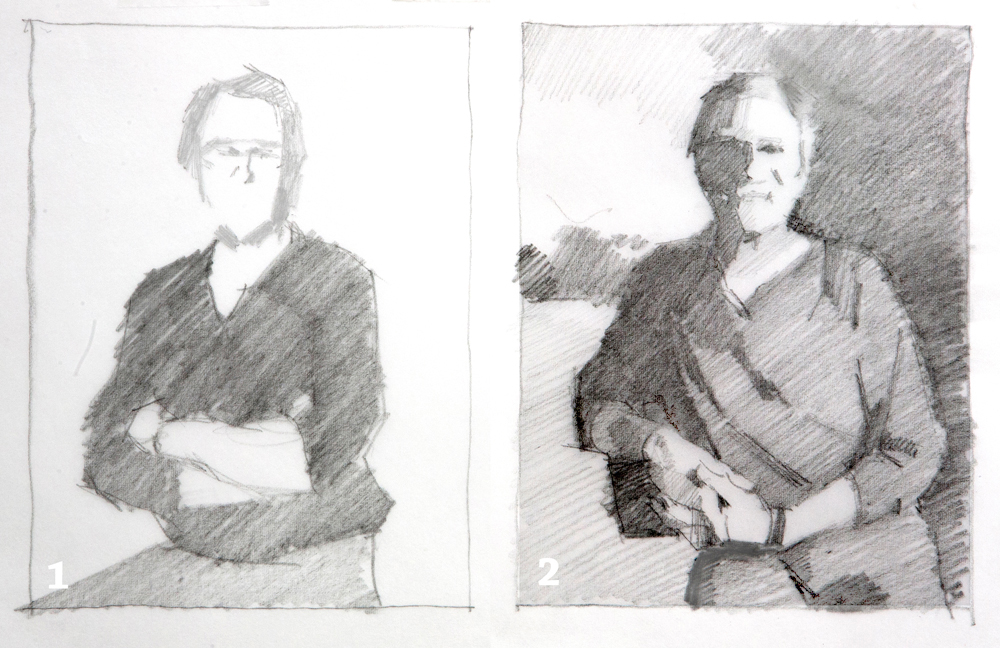
I made two images with the self-timer in my studio. On the first the light source is right in front of me. On the second from aside. I transformed the two into a simple grayscale drawing. In the first drawing the portrait has to come alive from subtle colour contrasts. In image 2, the face is completely formed by the strong shadow. Drawing 2 has a higher value contrast and that makes it much easier to achieve a strong portrait and to obtain a good likeness. See also this article.
Portrait painting from life.
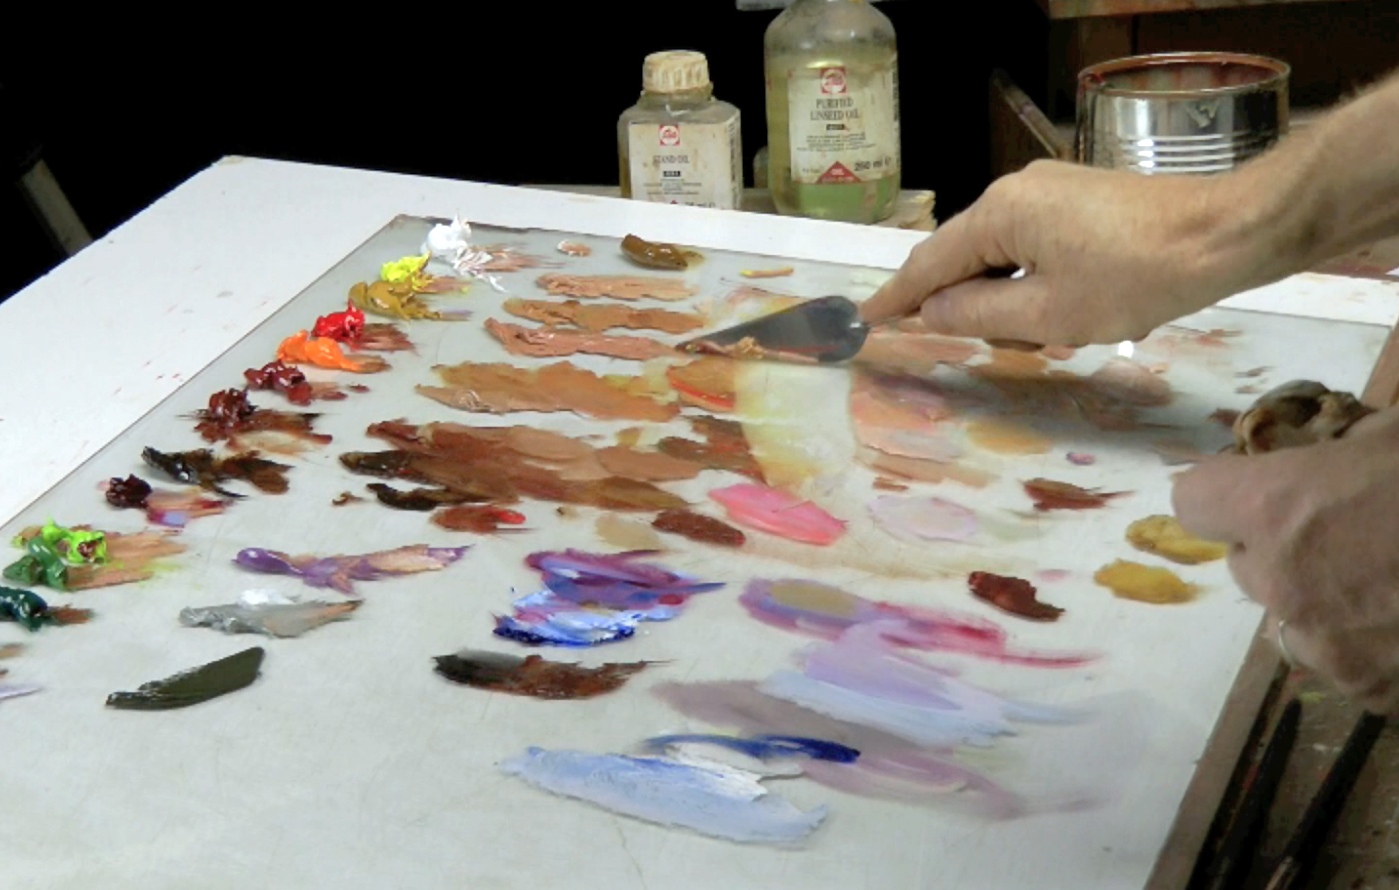
For this demonstration, I used my customary, extensive palette of 16 colours. I premixed a limited number of flesh-tones. Three for the light parts, one for the shadow, three neutral grays and a mauve colour. Because I elaborated the drawing accurately, I could make use of the tonal values of the charcoal. In the beginning I used citrus turpentine to dilute the paint. This approach enabled me to paint rather transparent to start with. In simple planes I started the painting and little by little I worked it out entirely. The whole session took seven hours over two days.
Also you see me using my home made viewer or colour checker. Make one yourself.
How to transfer a drawing onto the canvas
I am preparing a short video in which I explain four ways to transfer a drawing of a portrait onto the canvas. Three sections are finished and tomorrow we will start the shooting for: drawing from the observation of the live model. It will take some time to finish the final editing and the voice over but within a two weeks I hope I will able to show you the result.
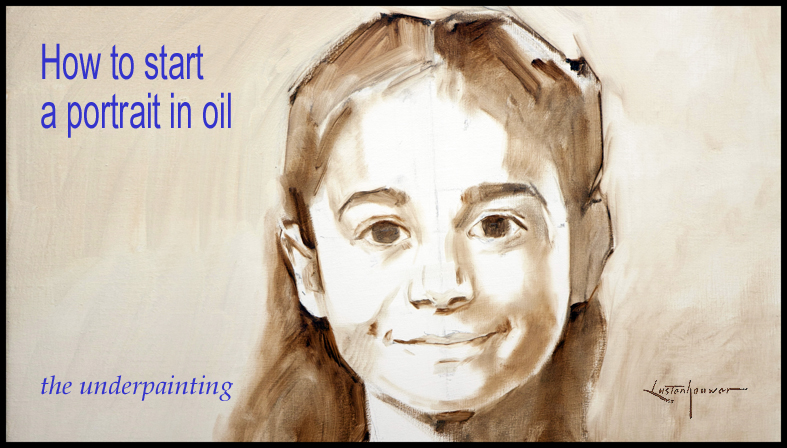
Learn how to start a portrait in oil.
In this video demonstration I show how to start a portrait in oil paint, this time from observation, and based on photography.
I use high quality oil prepared canvas. In advance I applied two extra layers of oil painting primer. I made it off-white, adding a small amount of oil paint: ivory black and yellow ochre. Now, after two days, the surface is perfectly dry. For sketching I use charcoal because it is easy to erase. I love that material!
I start by drawing the vertical center line of the face which is a slightly inclined. Measuring with the compass, from the top to the chin I transfer the maximum length of the face. And from the bottom upward, I find the marker points of the lips, the nose, the eyes and the hairline. I make a horizontal centre line that intersects the center of the eyes, and mark the width of the face and the ears. After drawing the contours I complete the drawing with the features. I take the mirror and I see the drawing and the photograph at the same time. Mirrored I can judge more easy the entire proportion and the separate details. Try it yourself and you will never work without a mirror anymore!
When I am satisfied I make the underpainting in oils: raw umber. If the charcoal bothers me, I sweep it away with my finger. I did not fix the drawing, but of course you can do if you think it necessary. In the beginning I don´t use any medium. Later I block in the large areas with a bigger brush and I dilute the paint with citrus turpentine. And during the entire progress I keep checking the proportions.
After one or two days the underpainting is dry enough to start the real oil painting.
Voice-over for my video.
At this moment I am really busy to do the voice-over for my video demonstration.
Last week I showed you a picture of myself behind the microphone. The video will have 14 chapters and now I am working on part 9. This is a short fragment of the text that I made for the part when I am cleaning once more a part of my palette:
…but let me clean a bit my palette first before I carry on with the cheekbone. It may seem excessive to clean the palette every now and then. Sometimes I see students jammed in a terrible mess hoping to find their way out. I know that they might be afraid to lose all the mixtures by cleaning. But I think that a pure spot on your palette is much more effective than the possible convenience of recycling a left mixture.
The same error is: using different brushes for different colours. In one of my courses I saw a lady with six different brushes in one hand. I think that is a mistake. That does not help you. I am pretty sure that chaos on your palette and in your hand is the reflection of a chaos in your head. But please do not despair, to be honest I also was the one with that rubbish heap on his palette and with a bouquet of brushes in his hand. Long time ago!