Next week I will be traveling for some portrait commissions. I go to Switzerland and Holland to meet new clients. I will be back beginning of march and I will not be able to write so much on my blog.
Every portrait commission means packing suitcases. This time I want to travel with as little as possible luggage. That is why I tried to pack all the photography equipment and my cloths and stuff in one single suitcase. Hand luggage, so it must not weight more than 10 kilo´s.
My Photo gear: 1. Tripod 2. Canon Speedlite 580 EX 3. Canon Speedlitetransmitter ST-E2 4. Light-umbrella 5. Tripod for flash 6. Canon 5D camera. And of course a small sketchbook.
And some Swiss money. Look the beautiful Swiss banknotes!
“150 things can go wrong with a painting, beginning with what you had for breakfast”, Samuel Edward Oppenheim used to tell his students. That sounds exaggerated but I totally agree. I am quite convinced that a good portrait is preceded by good preparations.
Everyone will say: yes, that’s pretty obvious. Yet I think that this aspect is often underestimated. I compare it with a high jump athlete who wants to establish his personal best. That he certainly not will try on some lost noon, thinking let me see if I happen to break some record. No, he’s training months, if not years. So my question is: do you want to deliver a good performance or not? If yes, then do everything possible!
Portrait Painting probably is not easy. There’s talent involved, you always hear. But for good preparations no talent is wanted at all, only a clear mind. And I assure you, to learn portrait painting, more than half of all the energy goes into preparation.
What is a good preparation? Some answers. Imagine it is about a commissioned portrait. It all starts with taking pictures of the model. I do not go straight to the sitters home, take some pictures and run back to my easel.
My checklist for photography:
I first make a previous appointment with the model to get acquainted. Not that I already want to see how the model looks, no I want the sitter gets to know me. Eventually, he or she has to give me something that I can give back in the the portrait. So trust is involved here. Usually the next day I go back to take the photographs.
1. Is my photo equipment complete?2. Do I have everything: lights, memory cards, are the batteries charged?
3. Do I know the exact address of the model, in order to arrive at the appointment relaxed and at some time sharp.
Once home I review the photographs carefully and make sure that I make good prints 4. Is the color right? 5. Is the contrast good? Don’t make the mistake to start with a bad printed image on poor quality paper thinking I will manage!
Usually I spend one day in making good prints.
The checklist for painting.
6. Is my studio clean and tidy? 7. Do I have good canvas or panel and is it treated with good primer? 8. Do I have the perfect composition? 9. Do I have the drawing properly put on the canvas? 10. The palette, is it cleaned well? No left-overs and old crap of previous work? Pamper yourself with clean stuff! 11. Are the brushes properly clean? Not a worn out bunch? 12. Do I have all oil colors and medium that I will need?
And finally, most important: Am I fresh, relaxed and able to spend the whole day painting without restraint?
Coming back to the high jump athlete: Don´t set the bar so high that you can walk easily underneath!
Next time I will tell you about a checklist that I use at the end of a painting day.
Rob Kietselaer is playing his wonderful compositions in many of my videos. I have painted this portrait in february 2013 as a gift for Rob to thank him for his great music which I grateful and frequently use.
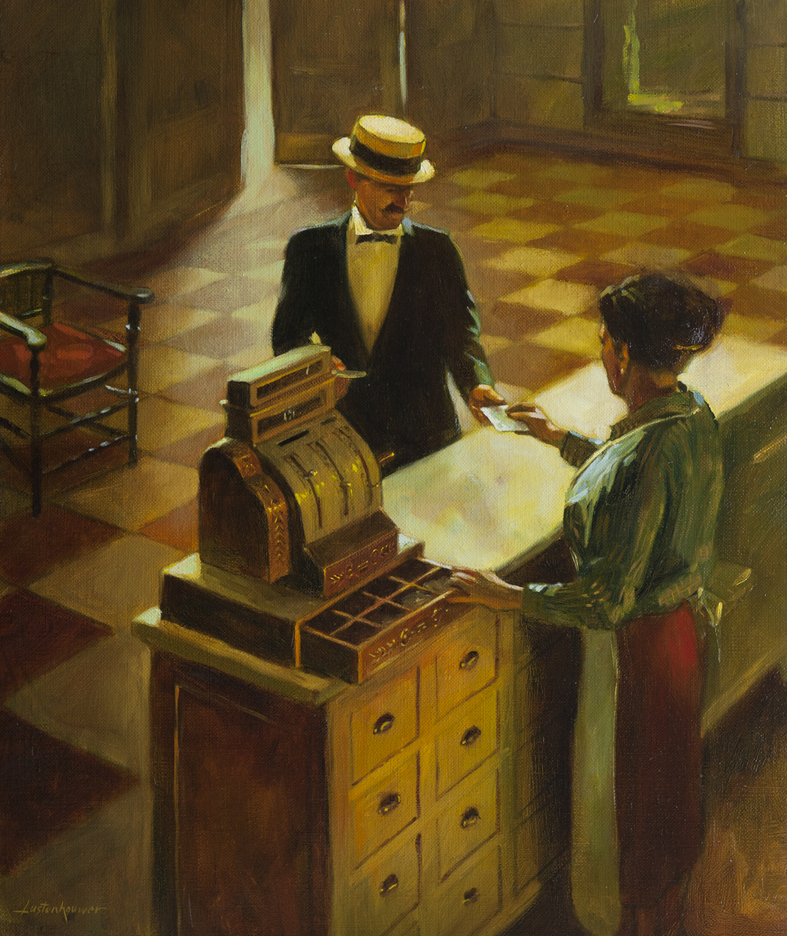
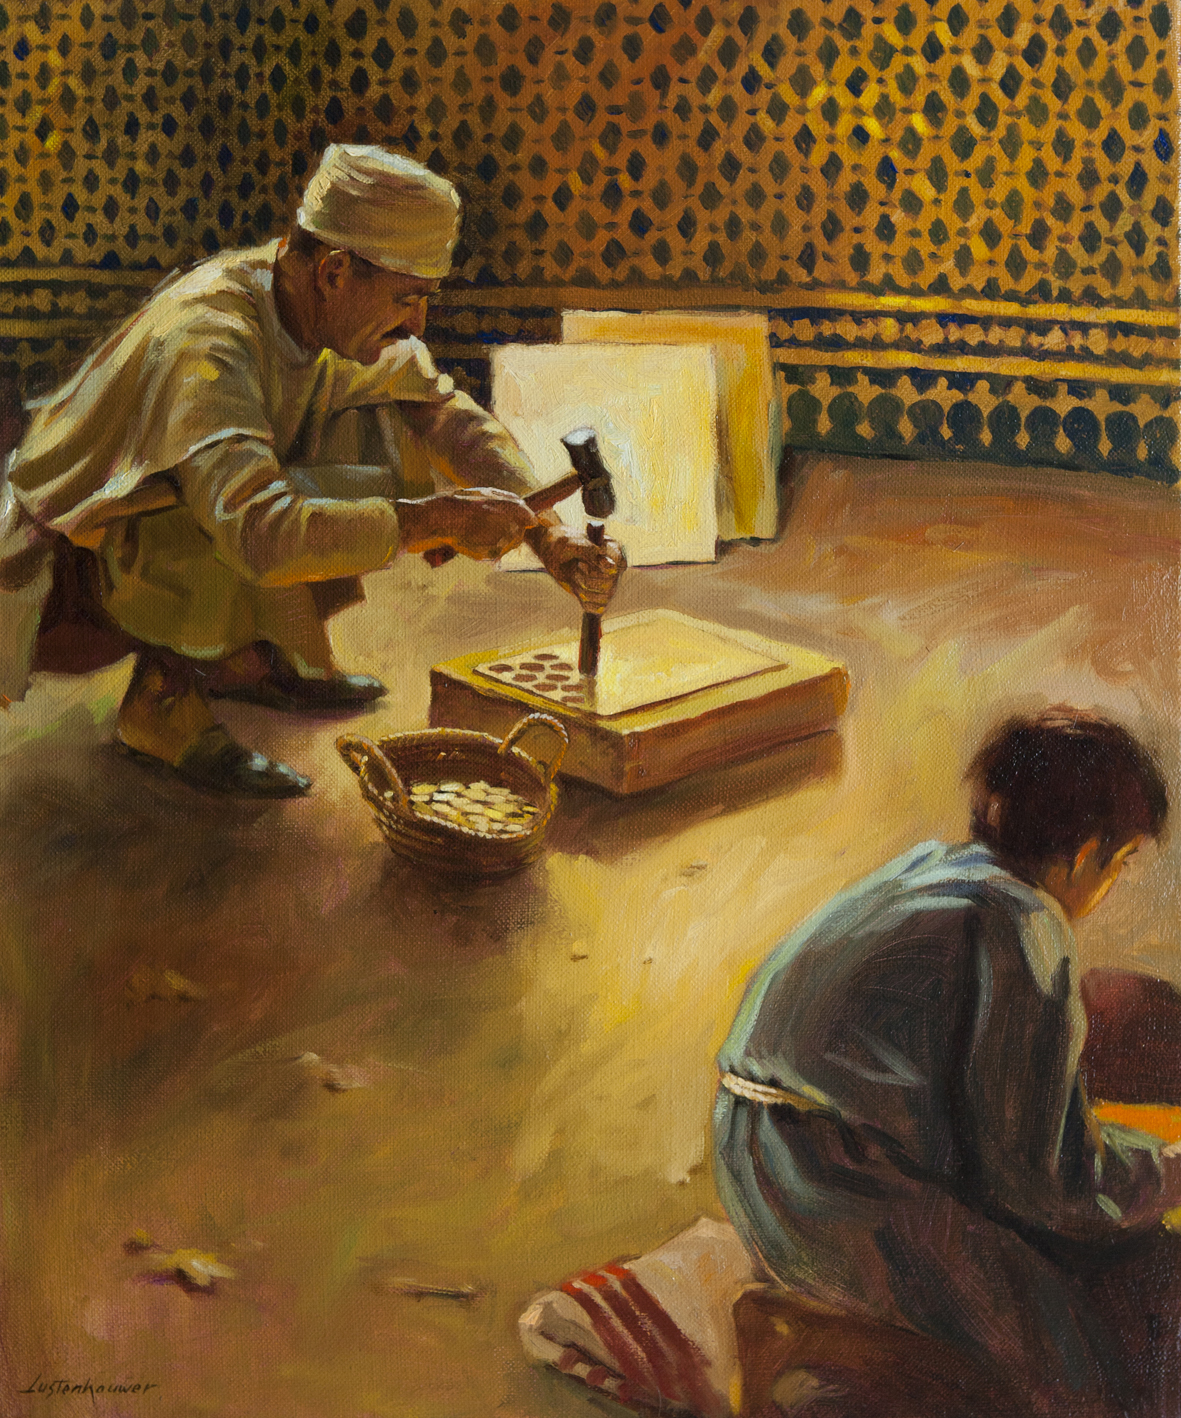
A long time ago I made commercial illustrations. Yesterday I found two paintings in the storage.
Together with five other pieces of artwork, these illustrations were published in a calendar for a spanish banking company. The theme was “History of Money“. As always I was searching for models. But this time I guess there was no time left to do so. (Always killing deadlines in commercial illustration!) In the first picture you see me and my wife. The twenties hat I bought especially for that occasion and I still have it in my studio. The counter in the shop where the shop-lady (my wife) stands behind is a piece of furniture in which I store my painting stuff already for a long time. That was pure coincidence and very useful. In the other you see me minting, in a moresque ambience.
Dogmas in painting do not exist and there is no such thing as law and order. Don´t trust painters and art teachers who say “Never do this or that, or this particular colour is forbidden on your palette”. In painting there are as many theories as there are painters. So my advice is: Find your own method and struggle your way to succes. Having said this I must give away this rule of thumb. “Fat over Lean“. (And that is no dogma, but an advice.)
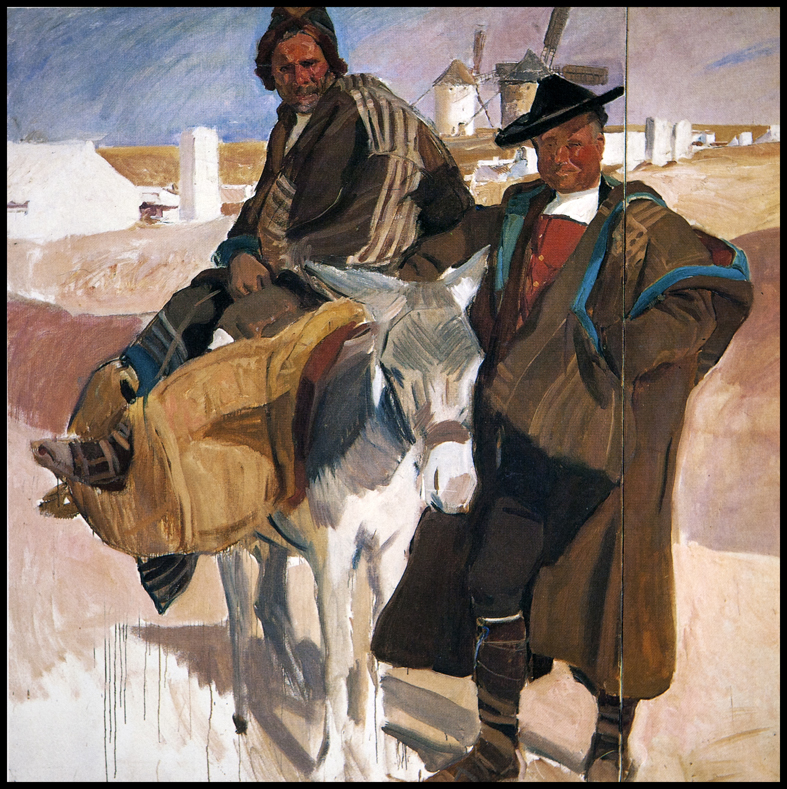
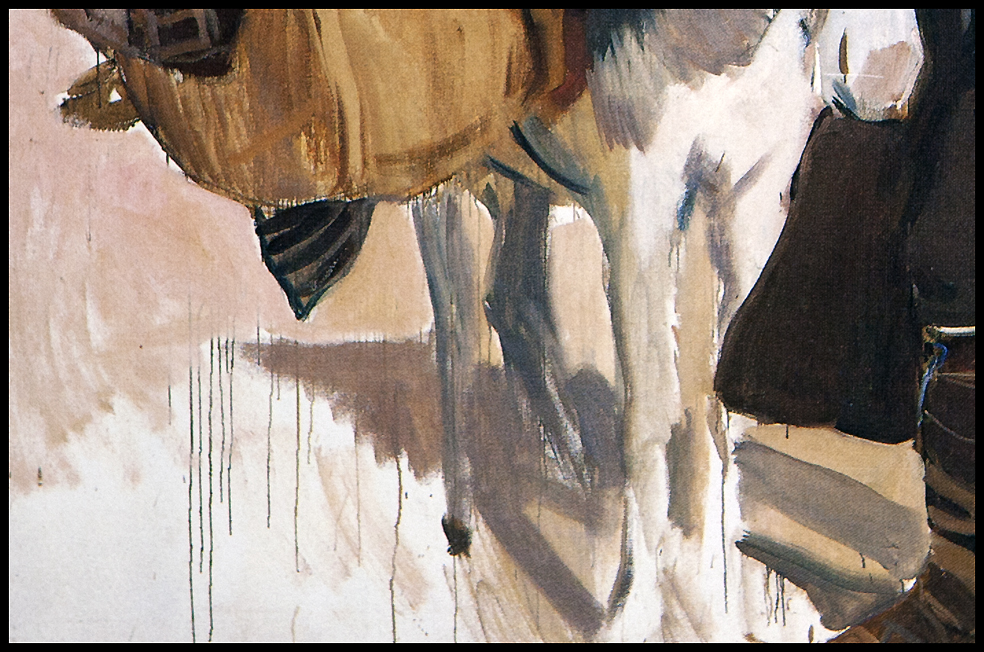
Start a painting lean and finish it fat. Lean for instance is spirit or turpentine, fat for instance is linseed oil. Why is this important? Apart from the chemical explanation there is a practical one. If you start mixing your oil paint with linseed oil from the beginning you will have trouble later when you must add more paint to your canvas. The oily underground is slippery and it becomes difficult to continue. Diluting the paint with turpentine in the beginning gives the possibility to build op a good amount of paint later. If you take a close look to this unfinished painting of Sorolla you see the first thinned layer of paint running down the canvas. Later he adds thick layers of paint.
Below more information that I found on the internet
The system of “fat-over-lean” (or: flexible over less flexible) must be followed if a painting is built up of various layers. A following layer can only be applied once the previous layer is dry enough for it to no longer dissolve. Meticulous use of the various solvents is advised in connection with the adherence and durability of the individual layers.
Through anchoring, oil colours adhere to a porous ground. The oil forms “anchors” allowing the paint layer to adhere after drying. If a thick layer of pure oil colour were to be allowed to dry, then this would not be porous enough for a good adherence of the next layer. For the first layer, the paint is thinned with white spirit or turpentine. They thin the oil in the paint and allow a certain amount of paint to now cover a larger surface area. The solvent evaporates making the first paint layer porous again. Due to the thinning each painted surface has too little oil to form a strong film; the film is ‘lean’ and weak. This is remedied by the second layer of paint.
Once the first layer is sufficiently dry the second layer of paint is applied, thinned with painting medium. A good painting medium consists of three components: oil, resin and solvent. The extra added oil feeds the lean first paint layer by filling the pores that are formed by the evaporated solvent. At the same time this second layer can also adhere well to the underlying layer. The evaporation of the white spirit forms new pores which allow for the adherence of a subsequent layer. The third ingredient, resin, makes the paint layer stronger.
If we then apply a third layer, we need to use a medium that is yet fatter to feed the underlying layers. If this layer is also the last, glazing paint layers are usually applied.
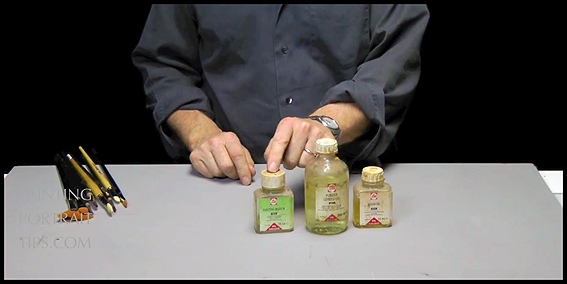
Various glazing mediums can be used, such as Talens Glazing Medium, Alkyd Medium, Venetian Turpentine and Stand Oil. These mediums are fatter than the painting medium and do not give the paint any brush stroke. If a painting is built up of more layers, then the mentioned thinning agents can be mixed proportionately from lean to increasingly fatter or the first layers can be mixed with a decreasing amount of solvent. The following layers can be mixed with a painting medium, and if a glaze is desired, the last layer with one of the above glazing mediums.
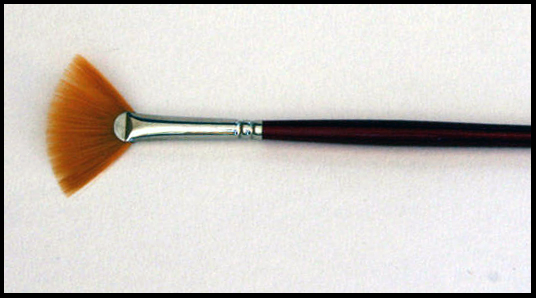
At times I get a question about the best brushes to use. Although brands may differ in the whole world, the materials and shapes are the same. Today I made a short video to show once again my five favorite brushes. The last brush that I show in this video is a fan brush. I use this brush mainly for blending out strokes to avoid a nasty shine caused by cast light. There is a danger to overdo this. So be careful and don’t blend all the nice picturesque strokes that must show your handwriting.
One of the most asked questions in my portrait painting classes is about using painting medium. “When do I use painting medium?”
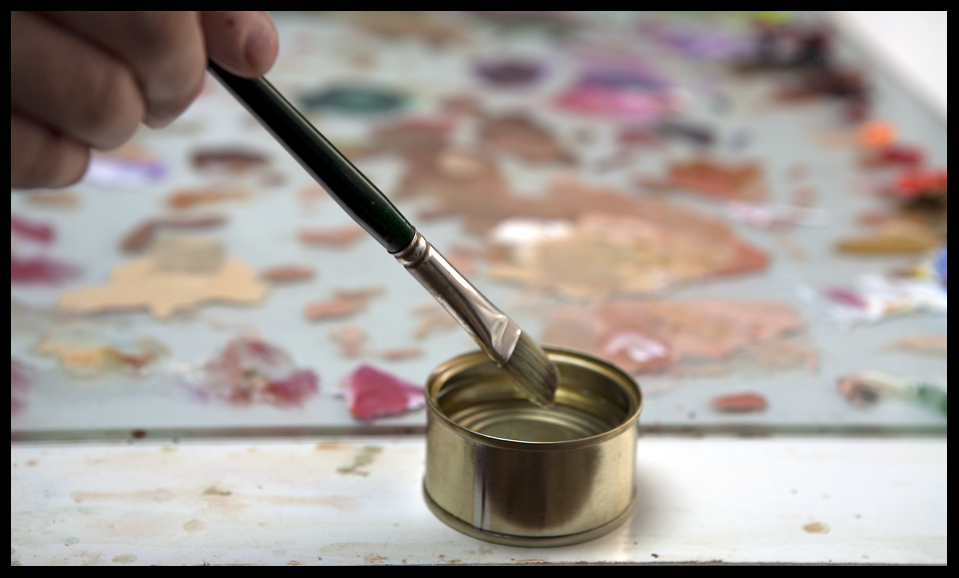
Sometimes I might rub the whole canvas with a neutral drying medium just before starting to paint, I mean at the beginning of the day. I do so, because I want to make the canvas suitable for receiving my paint. Nothing is more annoying than paint not willing to come of your brush. Mixing the paint with medium on the palette also is a way to get the same result but there is a danger to use too much of the medium at once. I said “sometimes”. I depends on the canvas. If the canvas is really dry and sucking this approach is useful. If the prepared canvas is already oily then don´t do this. During the first stage, in the face, I hardly use any medium. In large background surfaces I might dilute paint with citrus turpentine; a thin wash as if it was watercolour. Later I come back with the right layer of paint. See also thispage.
Read what Talens says about using painting medium.
WHEN DO I USE PAINTING MEDIUM? Whether a medium is used depends on the chosen technique. With oil colours there are two possible techniques: ‘Allaprima’ and ‘layered painting’.
‘Allaprima’ means that the painting will be painted ‘wet-into-wet’. With this technique the colours are mixed not only on the palette but also on the painting itself, and the paint can be continued to be thinned with the same solvent or medium, or the paint can be used pure.
Layered painting means that the painting is made up of various layers. A subsequent layer can only be applied once the previous layer is dry enough for it to no longer dissolve. Meticulous use of the various solvents is advised in connection with the adherence of the individual layers. Through anchoring, oil colours adhere into a porous ground. If a thick layer of pure oil colour were to be allowed to dry, then this would not be porous enough for a good adherence of the next layer.
Layered painting uses a technique that is called ‘fat-over-lean’, which also can be described as flexible over less flexible. For the first layer the paint is thinned with white spirit or turpentine. Due to the thinning there is relatively little oil on the painted surface. The layer is ‘lean’.
Once the first layer is dry enough, the second layer is applied, thinned with Painting Medium. Talens Painting Medium consists of three components: oil, resin and white spirit. The extra added oil feeds the lean first paint layer by filling the pores that are formed by the evaporated solvent. At the same time this second layer can also adhere well to the underlying layer. The evaporation of the white spirit forms new pores which allow for the adherence of a subsequent layer. The third ingredient, resin, makes the paint layer stronger.
If we apply a third layer, we need to use a medium that is fatter still in order to feed and strengthen the underlying layers. If a painting is made of more layers, then the mentioned thinning agents can be mixed proportionately from lean to increasingly fatter.
The last layer to be applied is usually a glazing paint layer. Glazing is the application of a transparent layer of paint. No brush stroke may be seen in a glaze as the brush strokes of the underlying paint are visible. Various glazing mediums can be used, such as Talens Glazing Medium, Alkyd Medium, Venetian Turpentine and Stand Oil. These mediums are fatter than the painting medium and allow the paint to flow without showing any brush stroke.
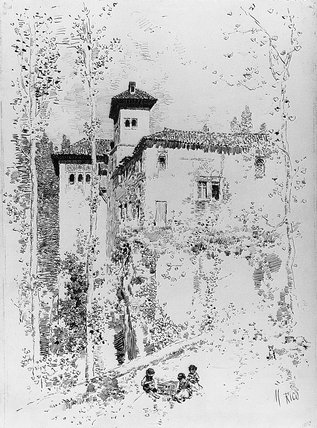
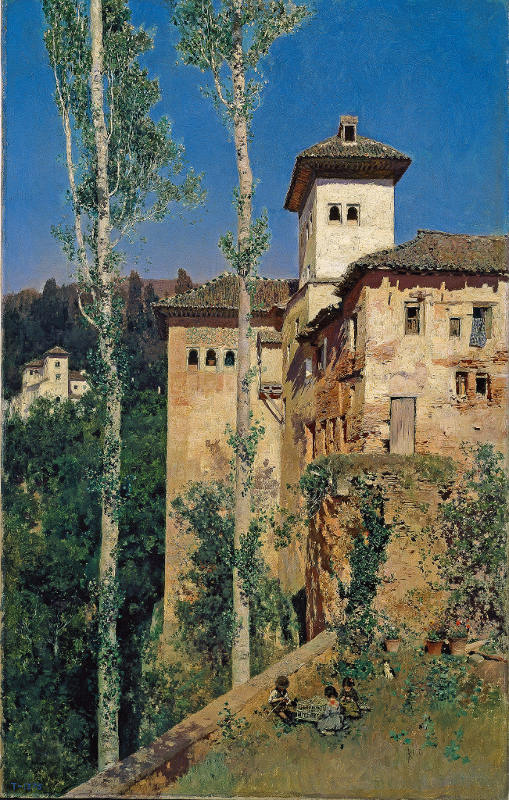
Last week I promised to take and show you some pictures of some details of the paintings of Martin Rico in the Prado Museum. Of course it was forbidden to do so, almost they bundled me out of the museum! The exhibition was great. But what me impressed the most were his drawings in the little sketch books. Marvelous!
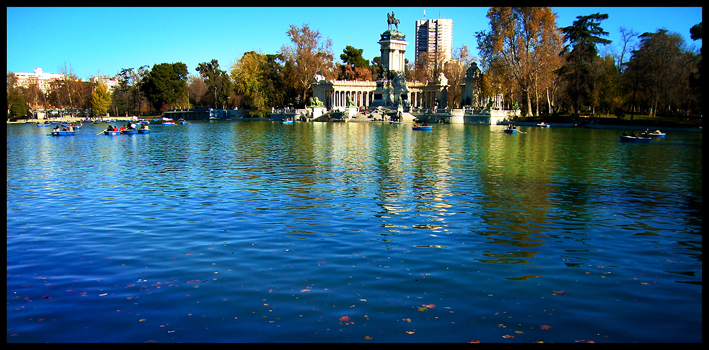
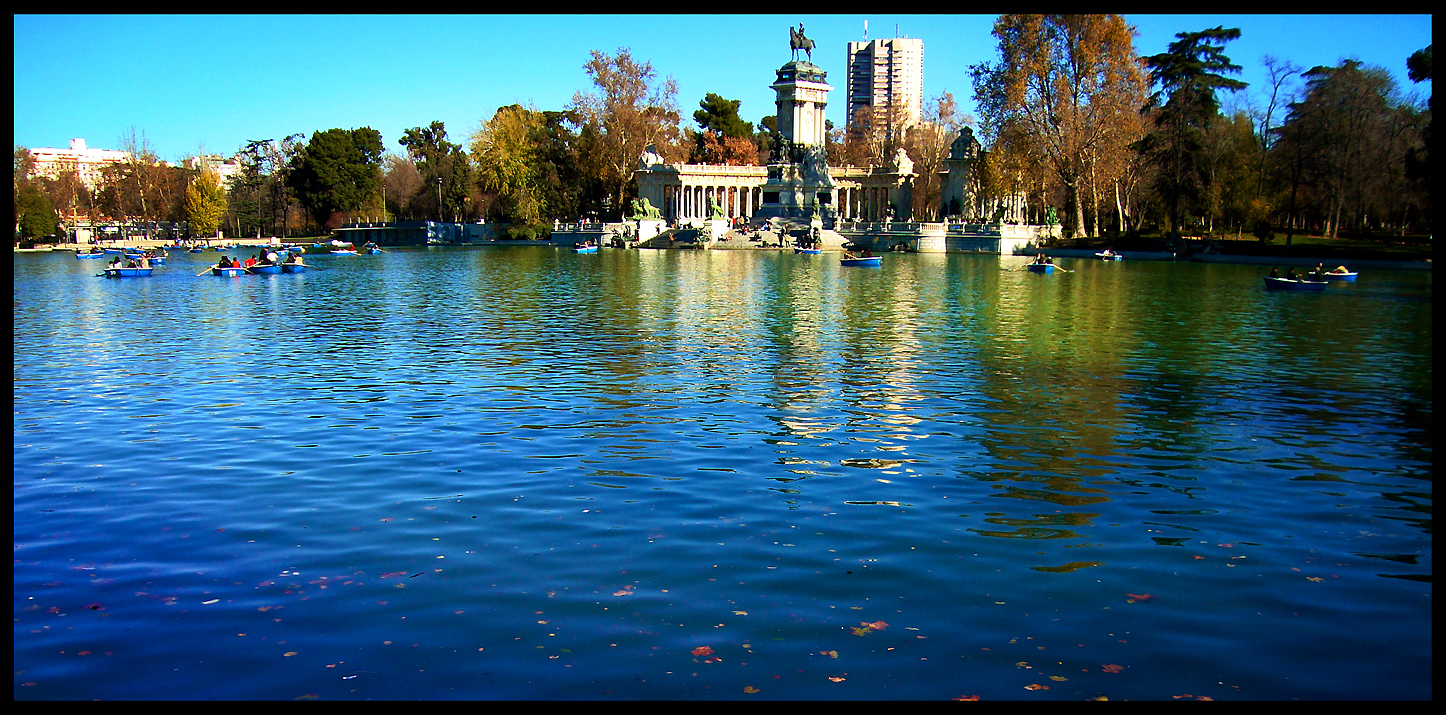
Inspired by his paintings of reflections of boats and buildings on the water I made this photograph in the Retiro Park behind the Prado.
Trip to Madrid Prado: The landscape painter Martín Rico (1833-1908)
This weekend we will visit our daughter and son in law in Madrid. We managed to get tickets for the Prado to see the exhibition of Martín Rico on sunday morning. I am looking forward to see the marvelous paintings and hopefully I can make some detail-photographs.